
Hey there! If you’re thinking about going solar, you’re on the right track. Solar energy is not only eco-friendly but can also save you a ton on your electricity bills. But to get the most out of your solar panels, you need to place them just right. Here’s a friendly guide to help you optimize your solar panel placement for maximum efficiency.
Why Placement Matters
When it comes to solar panel installation, placement is paramount. The efficiency and overall effectiveness of your solar energy system heavily depend on where and how you position your panels. Let’s dive deeper into why placement matters and how it can impact your solar energy production.
The Science Behind Solar Panels
Solar panels generate electricity by converting sunlight into energy through photovoltaic cells. These cells absorb photons from sunlight, which then knock electrons loose from atoms, creating a flow of electricity. The more sunlight that hits the panels, the more electricity they produce. Therefore, maximizing sunlight exposure is key to achieving high energy output.
Optimal Sunlight Exposure
The amount of sunlight your solar panels receive directly influences their efficiency. Here are some critical factors to consider:
Geographic Location
Your geographic location determines the angle and intensity of sunlight your panels will receive throughout the year. For example, locations closer to the equator receive more direct sunlight year-round compared to locations further north or south. This geographical difference impacts how you should position your panels to capture the most sunlight.
- Latitude Consideration: The angle of your solar panels should correspond to your latitude. For instance, if you live at 30° latitude, tilting your panels at approximately 30° can maximize sunlight absorption.
- Seasonal Variations: The sun’s position changes with the seasons. Adjusting the tilt of your panels seasonally (steeper in winter, shallower in summer) can help maintain optimal exposure.
Orientation
The orientation of your solar panels – the direction they face – is crucial for capturing the maximum amount of sunlight.
- South-Facing Panels: In the northern hemisphere, panels should ideally face south to receive the most sunlight throughout the day. In the southern hemisphere, north-facing panels are optimal.
- East/West-Facing Panels: If south-facing placement is not possible, east or west-facing panels can still be effective, especially if combined with microinverters to handle variations in sunlight throughout the day.
Shading
Shading significantly impacts the performance of solar panels. Even small amounts of shade can reduce their efficiency. Here’s why avoiding shadows is crucial:
- Partial Shading: Partial shading can create a bottleneck effect, where shaded cells produce less electricity and reduce the overall output of the panel. This effect is compounded in panels connected in series, where one shaded cell can impact the entire array.
- Hot Spots: Consistent shading can cause certain areas of the panel to heat up excessively, known as hot spots. Hot spots can damage the cells and reduce the lifespan of your panels.
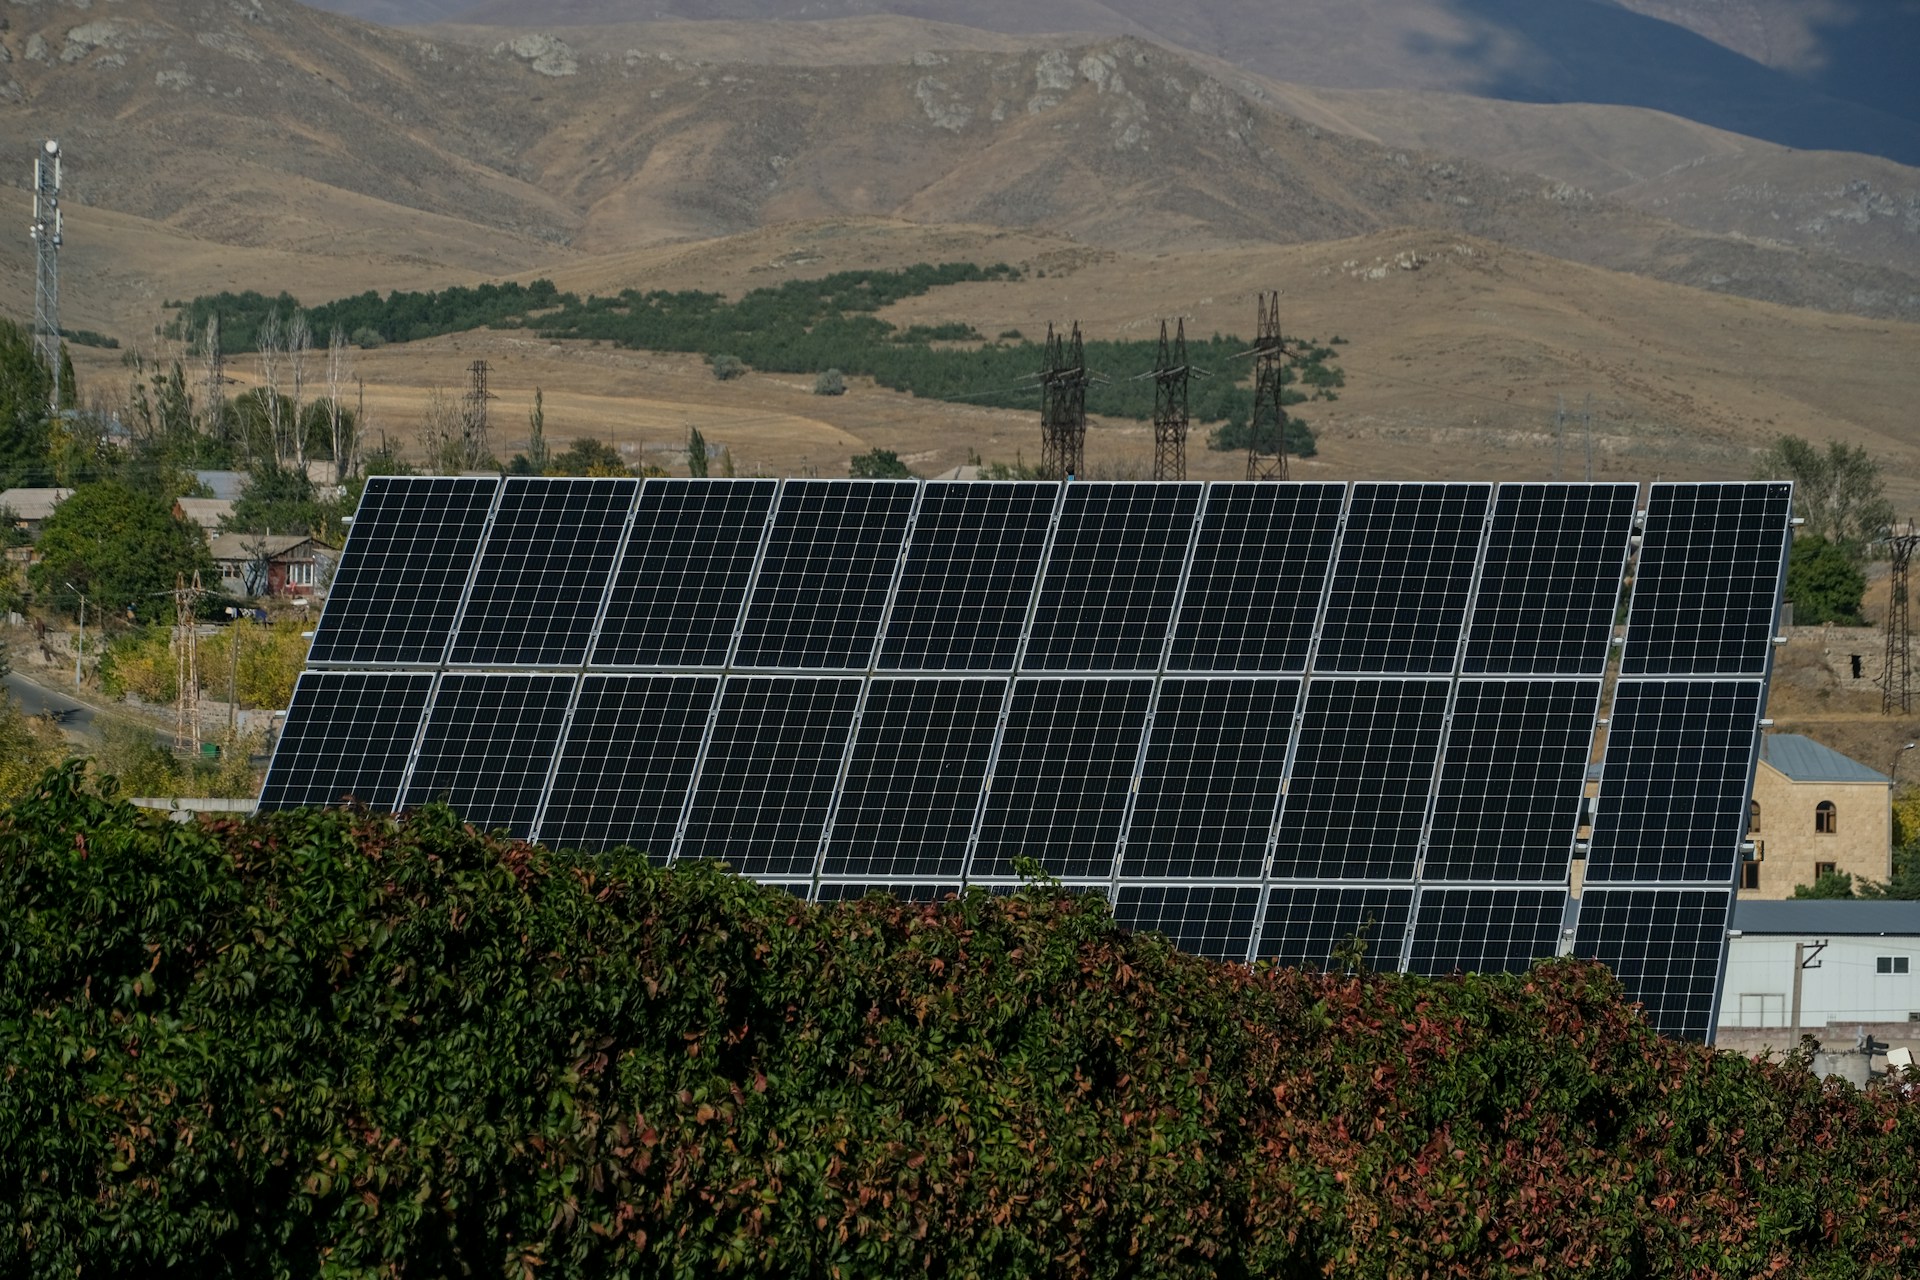
Roof vs. Ground Mounts
The choice between roof-mounted and ground-mounted solar panels also plays a significant role in placement:
Roof Mounts
- Space Utilization: Roof mounts make use of existing structures, which is ideal for properties with limited ground space.
- Elevation Benefits: Roof-mounted panels are generally less prone to shading from nearby obstacles like trees or buildings. Their elevated position often receives more consistent sunlight.
Ground Mounts
- Adjustability: Ground mounts offer greater flexibility in positioning and tilting, allowing you to optimize the angle more precisely.
- Maintenance Ease: Ground-mounted panels are easier to access for cleaning and maintenance, ensuring they remain efficient over time.
Local Climate and Weather Patterns
Understanding your local climate and weather patterns helps in optimizing panel placement. For instance:
- Snowy Regions: In areas with heavy snowfall, installing panels at a steeper angle can help snow slide off, maintaining exposure to sunlight.
- Dusty or Polluted Areas: Frequent cleaning might be necessary in regions with high dust or pollution levels to prevent buildup on the panels, which can reduce efficiency.
Real-World Impacts
The difference between optimal and suboptimal placement can be dramatic. Here’s an illustrative example:
Example: Residential Home in California
- Suboptimal Placement: Panels installed flat on a low-pitched roof with shading from a nearby tree saw a 20% reduction in efficiency.
- Optimal Placement: After repositioning the panels to a south-facing, unshaded section of the roof and adjusting the tilt to the appropriate angle, the homeowner experienced a 30% increase in energy production.
Placement is critical for maximizing the efficiency and effectiveness of your solar panels. By considering geographic location, orientation, shading, and mounting options, you can ensure your panels capture the maximum amount of sunlight possible. Proper placement not only boosts energy production but also extends the lifespan of your panels and enhances the return on your solar investment. Taking the time to plan and optimize placement will pay off in the form of greater energy savings and a more sustainable energy solution.
The Perfect Angle
One of the most crucial factors in optimizing solar panel placement is getting the angle just right. Let’s break this down a bit more to understand why it matters and how to achieve it.
Understanding Solar Panel Angles
Solar panels work best when they are perpendicular to the sun’s rays. This means that the angle at which your panels are tilted can significantly impact their efficiency. The ideal angle depends on your geographical location and the time of year. Here’s a more detailed look at how to determine the best angle for your solar panels:
Latitude-Based Angle Calculation
A general rule of thumb for finding the optimal angle is to use your latitude. If you live at a latitude of 40 degrees, then your solar panels should ideally be tilted at an angle of 40 degrees. This rule can help maximize the average annual energy production.
However, for more precise optimization, consider adjusting the angle seasonally:
- Summer: Subtract 15 degrees from your latitude. For instance, if your latitude is 40 degrees, tilt your panels at 25 degrees during the summer.
- Winter: Add 15 degrees to your latitude. So, for a 40-degree latitude, tilt your panels at 55 degrees in the winter.
Seasonal Adjustments
Adjusting the angle of your solar panels seasonally can seem like a hassle, but it can significantly improve efficiency. During summer, when the sun is higher in the sky, a shallower angle allows the panels to capture more sunlight. Conversely, in winter, a steeper angle helps catch the lower-angled sunlight. If manual adjustments are too cumbersome, you might consider investing in adjustable mounts or automatic solar trackers, which adjust the panels’ angle throughout the year.
Solar Calculators and Tools
Fortunately, you don’t have to do all this math by yourself. There are numerous online tools and calculators that can help you find the optimal angle for your specific location. Websites like SolarSena offer calculators where you can input your location and get the best angles for different times of the year. These tools take into account factors like local climate conditions and historical sunlight data, providing a more tailored recommendation.
Fixed vs. Adjustable Mounts
When installing your solar panels, you can choose between fixed and adjustable mounts:
- Fixed Mounts: These are simpler and cheaper but do not allow for angle adjustments. If you opt for a fixed mount, set it to the average optimal angle for your location (roughly equal to your latitude).
- Adjustable Mounts: These are more versatile and can be adjusted seasonally or even daily. While they are more expensive, they can significantly increase your solar panels’ efficiency by ensuring they are always at the best angle to capture sunlight.
Real-World Examples
Let’s look at a couple of real-world examples to see how adjusting the angle can make a difference:
-
Example 1: New York City (Latitude ~40.7 degrees)
- Summer: Tilt angle ~25.7 degrees
- Winter: Tilt angle ~55.7 degrees
-
Example 2: Sydney, Australia (Latitude ~33.9 degrees)
- Summer: Tilt angle ~18.9 degrees
- Winter: Tilt angle ~48.9 degrees
By adjusting the angles as suggested, you can ensure that your panels are optimally positioned to capture the maximum amount of sunlight throughout the year.
Getting the angle right for your solar panels is more than just a set-it-and-forget-it task. It’s about understanding your geographical location, making seasonal adjustments, and using the right tools to maximize efficiency. With a bit of effort and the right setup, you can significantly boost your solar energy production and enjoy the benefits of a well-optimized solar power system. So, take the time to angle your panels correctly, and let the sun do the rest of the work!

Avoiding Shadows
Shadows are one of the biggest enemies of solar panel efficiency. Even a small amount of shading can drastically reduce the amount of electricity your panels produce. Let’s dive deeper into why shadows are such a problem and how you can avoid them.
Understanding the Impact of Shadows
Solar panels are made up of many individual cells, and shadows on even one of these cells can reduce the overall output of the panel. This is because solar cells are typically connected in series, meaning that the shaded cell can act like a bottleneck, limiting the current that flows through the entire panel. In some cases, this can lead to a phenomenon known as “hot spotting,” where shaded cells get excessively hot and can even damage the panel over time.
Identifying Potential Sources of Shade
The first step in avoiding shadows is identifying potential sources around your property. Here are some common culprits:
- Trees: As trees grow, their branches can cast shadows on your solar panels. Even if a tree isn’t a problem now, it might be in a few years.
- Buildings: Neighboring houses or buildings, especially those taller than your own, can cast long shadows, particularly in the morning or late afternoon.
- Chimneys and Vents: These structures on your own roof can cause shading issues, especially if your panels are close to them.
- Utility Poles and Wires: These can cast shadows that move throughout the day, impacting your panels’ efficiency.
Conducting a Shade Analysis
To ensure your solar panels are free from shadows, conduct a shade analysis. This involves observing your roof or property throughout the day to see how shadows move and where they fall. You can do this manually or use tools and apps designed for solar panel planning. Here are some methods:
- Solar Pathfinder: This tool helps you analyze shading on your roof. It provides a detailed chart showing when and where shadows will fall throughout the year.
- Solmetric SunEye: This device combines a fisheye camera with software to provide a comprehensive shading analysis.
- Apps: There are various smartphone apps, like Solar Compass, that can help you track the sun’s path and identify potential shading issues.
Strategic Panel Placement
Once you’ve identified potential sources of shade, you can strategically place your solar panels to avoid them. Here are some tips:
- Roof Positioning: Place panels on the part of your roof that receives the most direct sunlight. This is often the south-facing side in the northern hemisphere and the north-facing side in the southern hemisphere.
- Distance from Obstacles: Ensure there’s a sufficient distance between your panels and any objects that might cast shadows, such as chimneys or trees.
- Ground Mounts: If your roof isn’t suitable, consider ground-mounted panels. These can be placed in an open area free from shade and can often be angled more precisely.
Trimming and Maintenance
Regular maintenance is crucial to keep shading issues at bay:
- Tree Trimming: Regularly trim trees that could cast shadows on your panels. This might require professional help if the trees are large or difficult to access.
- Roof Maintenance: Keep an eye on any new structures or additions that might cause shading. For instance, installing a new air conditioning unit or vent could cast shadows that weren’t there before.
Bypass Diodes and Microinverters
Modern solar technology offers solutions to mitigate the impact of shading:
- Bypass Diodes: These are included in many solar panels to allow current to flow around shaded cells, minimizing the impact on the overall panel output.
- Microinverters and Power Optimizers: These devices work at the panel level rather than the system level. If one panel is shaded, it won’t drag down the performance of the entire array. Learn more about these technologies on EnergySage.
Real-World Examples
Here are a couple of examples to illustrate the impact of shading:
-
Example 1: Residential Roof with Trees
- Initially, solar panels installed near a large tree experienced significant efficiency loss in the late afternoon.
- After trimming the tree and repositioning some panels, the homeowner saw a 20% increase in energy production.
-
Example 2: Urban Building with Neighboring Structures
- A building in a dense urban area had shading issues from a neighboring taller building.
- By installing microinverters, the shading impact was minimized, leading to a more consistent energy output.
Avoiding shadows is essential for maximizing the efficiency of your solar panels. By conducting a thorough shade analysis, strategically placing your panels, and utilizing modern solar technology, you can ensure that your panels receive as much sunlight as possible. Regular maintenance and proactive measures will help you maintain optimal performance, allowing you to enjoy the full benefits of your solar investment. So, keep an eye on those shadows, and let the sun shine brightly on your solar panels!

Roof vs. Ground Mounts
Deciding whether to mount your solar panels on your roof or on the ground can significantly impact their efficiency and your overall solar energy system’s effectiveness. Let’s dive deeper into the pros and cons of each option, along with some real-world considerations to help you make the best choice.
Roof Mounts
Roof-mounted solar panels are the most common installation method for residential solar systems. Here’s a closer look at the benefits and drawbacks:
Benefits of Roof Mounts
- Space Efficiency: Roof mounts use existing space that might otherwise go unused, making them a great option for urban areas or homes with limited yard space.
- Elevation: Being elevated means roof-mounted panels are less likely to be shaded by trees or buildings, which can be a significant advantage for maintaining consistent sunlight exposure.
- Aesthetic Integration: Many homeowners prefer the look of roof-mounted panels because they blend into the building’s structure. Modern designs and low-profile mounts can further enhance this aesthetic appeal.
- Cooling Effect: Solar panels can provide a cooling effect on your home by shading your roof and reducing heat absorption, potentially lowering your air conditioning costs in the summer.
Drawbacks of Roof Mounts
- Limited Adjustability: Once installed, roof-mounted panels are typically fixed in place, which means you can’t easily adjust their angle to optimize for seasonal sunlight changes.
- Maintenance Challenges: Cleaning and maintaining roof-mounted panels can be more difficult due to their height and the need for safety equipment. Accessing them for repairs or adjustments can also be more cumbersome.
- Structural Concerns: Not all roofs are suitable for solar panel installations. Older roofs or those with complex angles might require reinforcement or could be deemed unsuitable, increasing the cost and complexity of installation.
Ground Mounts
Ground-mounted solar panels offer a different set of advantages and considerations. Here’s what you need to know:
Benefits of Ground Mounts
- Optimal Positioning: Ground mounts allow for precise positioning and angle adjustments, enabling you to optimize the panels’ tilt and orientation for maximum sunlight exposure throughout the year.
- Ease of Maintenance: With ground-mounted panels, cleaning, maintenance, and repairs are much simpler and safer, as you can access them without climbing onto the roof.
- Cooling Efficiency: Ground-mounted panels typically have better air circulation around them, which can help keep them cool and maintain higher efficiency levels.
- Expansion Potential: If you have ample land, ground mounts offer more flexibility for expanding your solar array in the future without the constraints of roof space.
Drawbacks of Ground Mounts
- Space Requirements: Ground mounts require a significant amount of land, which might not be feasible for homeowners with limited yard space or those living in urban areas.
- Aesthetic Impact: Some homeowners find ground-mounted panels less visually appealing, as they can be more prominent and take up valuable outdoor space.
- Exposure to Damage: Ground-mounted panels can be more vulnerable to physical damage from animals, lawn equipment, or extreme weather conditions. Proper fencing and protective measures are often necessary.
Real-World Considerations
When choosing between roof and ground mounts, consider the following real-world factors:
- Geographical Location: Your location can influence the best mounting option. In areas with heavy snowfall, ground mounts might be easier to clear of snow, while roof mounts can benefit from the natural slope of the roof to shed snow more easily.
- Roof Condition: Evaluate the age and condition of your roof. If it’s nearing the end of its lifespan, it might be worth replacing or reinforcing the roof before installing solar panels.
- Property Layout: Assess the layout and orientation of your property. If your roof has significant shading issues or doesn’t face the optimal direction, ground mounts might be a better option.
- Future Plans: Consider any future plans for home expansion or landscaping changes. Ground mounts might restrict yard space needed for other projects, while roof mounts could limit future rooftop installations like skylights or additional HVAC units.
Making the Decision
Here are a couple of steps to help you decide between roof and ground mounts:
- Conduct a Site Survey: Engage with a professional solar installer to conduct a thorough site survey. They can assess shading, structural integrity, and optimal placement for your panels.
- Cost-Benefit Analysis: Compare the costs and benefits of each option, including installation, maintenance, and potential energy savings. Factor in any additional costs for roof reinforcement or ground preparation.
- Consult Local Regulations: Check with local authorities about any zoning laws, building codes, or HOA restrictions that might influence your choice. Some areas have specific regulations regarding the placement of solar panels.
Both roof and ground mounts have their unique advantages and considerations. Your choice will depend on your specific circumstances, including space availability, aesthetic preferences, and long-term plans for your property. By carefully weighing the pros and cons and consulting with solar professionals, you can choose the mounting option that maximizes the efficiency and benefits of your solar energy system. Happy solar panel hunting!
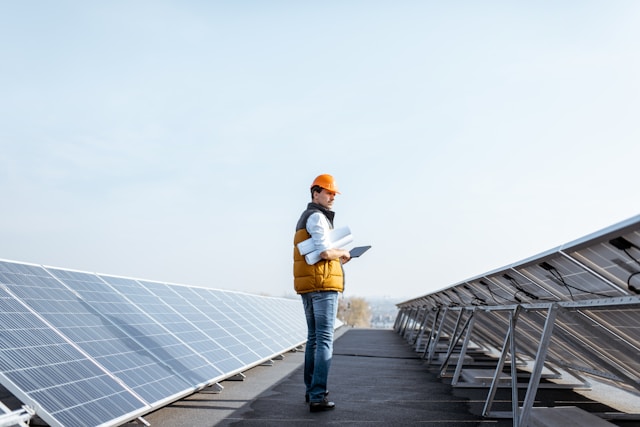
Monitoring and Maintenance
Investing in solar panels is a great step toward sustainable energy and cost savings, but the journey doesn’t end with installation. To ensure your solar panels perform at their best, regular monitoring and maintenance are crucial. Let’s explore why this is important and how you can effectively keep your solar system in top shape.
Why Monitoring and Maintenance Matter
Solar panels are generally low-maintenance, but that doesn’t mean they’re maintenance-free. Over time, dirt, dust, leaves, bird droppings, and other debris can accumulate on the panels, reducing their efficiency. Additionally, regular monitoring helps identify and address issues before they become significant problems, ensuring your system continues to operate at peak performance.
Monitoring Your Solar Panels
Modern solar energy systems come with various monitoring options that allow you to track their performance in real-time. Here are some key aspects of monitoring:
System Monitoring Tools
- Inverters with Built-in Monitoring: Most inverters have built-in monitoring systems that track the energy production of your solar panels. They provide data on daily, monthly, and yearly energy output, helping you understand your system’s performance.
- Online Portals and Apps: Many solar companies offer online portals or mobile apps that connect to your inverter. These platforms provide detailed performance data, alerts, and insights, allowing you to monitor your system from anywhere.
- Third-Party Monitoring Systems: If your inverter doesn’t have built-in monitoring or you want more advanced features, third-party monitoring systems can be installed. These systems often provide more detailed analytics and can integrate with smart home devices.
Key Performance Indicators
When monitoring your solar panels, keep an eye on the following key performance indicators (KPIs):
- Energy Production: Track the amount of energy your system produces daily, monthly, and yearly. Sudden drops in production could indicate an issue that needs attention.
- Efficiency Rate: This measures how effectively your panels convert sunlight into electricity. If efficiency drops, it might be time for a cleaning or inspection.
- Peak Sun Hours: Understanding how many hours of peak sunlight your panels receive can help you gauge their performance and identify shading issues.
Regular Maintenance Practices
Maintaining your solar panels involves a few straightforward but essential practices. Here’s what you need to do to keep your system in excellent condition:
Cleaning Your Solar Panels
- Frequency: Clean your solar panels at least twice a year, or more frequently if you live in an area with high dust, pollen, or pollution levels.
- Tools and Materials: Use a soft brush, squeegee, or sponge with mild soapy water. Avoid abrasive materials that could scratch the panels. A garden hose can be useful for rinsing off dirt, but avoid using high-pressure washers.
- Safety First: If your panels are roof-mounted, prioritize safety. Use appropriate ladders, safety gear, and, if necessary, hire professional cleaners.
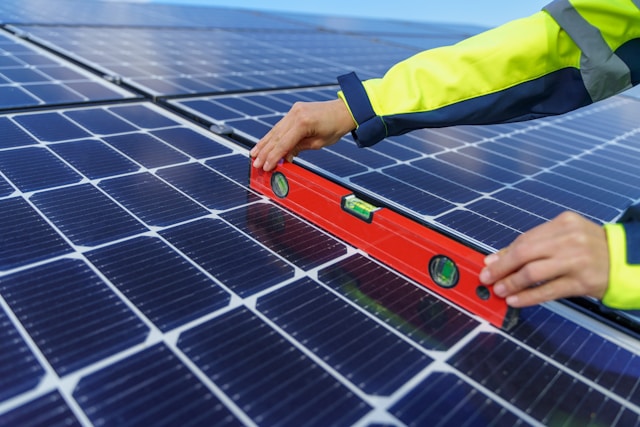
Inspecting for Damage
- Visual Inspection: Regularly inspect your panels for cracks, chips, or other physical damage. Check for loose or frayed wiring, and ensure that all connections are secure.
- Structural Integrity: Ensure that the mounting system is secure and free of rust or other signs of wear and tear. This is especially important after severe weather events.
- Professional Inspection: Schedule a professional inspection every few years to thoroughly check the system, including the inverter and electrical components. Professionals can identify issues that might not be visible to the untrained eye.
Troubleshooting Common Issues
Even with regular maintenance, issues can arise. Here’s how to troubleshoot some common problems:
Reduced Energy Production
- Check for Shade: Ensure no new shading issues have emerged. Trees grow, and new buildings can cast shadows that weren’t there before.
- Clean Panels: Dirty panels are less efficient. A good cleaning might be all that’s needed to restore full production.
- Inspect Inverter: The inverter might show error messages or indicators if there’s an issue. Refer to the user manual or contact your installer for help.
Physical Damage
- Cracks and Chips: If you notice any damage, contact a professional immediately. Damaged panels can reduce efficiency and might pose a safety risk.
- Loose Mounting: If the panels seem loose or have shifted, this could impact their efficiency and safety. Professional reinstallation might be required.
Seasonal Considerations
Different seasons bring different challenges for solar panel maintenance:
Winter
- Snow and Ice: Snow accumulation can block sunlight. Use a soft brush or a roof rake designed for snow removal to clear the panels. Be careful not to scratch or damage the panels.
- Angle Adjustments: If you have adjustable mounts, consider changing the tilt to a steeper angle to prevent snow buildup and maximize sunlight capture.
Spring and Fall
- Debris Accumulation: Spring and fall can bring pollen, leaves, and other debris. Regular cleaning during these seasons is crucial to maintaining efficiency.
- Inspection: These seasons are great times for a thorough inspection and professional check-up, preparing your system for the more extreme weather of summer and winter.
Long-Term Care
Over the long term, maintaining your solar panels can involve a few additional considerations:
- Warranty Check: Regularly review your system’s warranty terms. Ensure that any maintenance or repairs adhere to the warranty requirements.
- System Upgrades: Technology evolves, and over time you might consider upgrading parts of your system, such as inverters or adding battery storage to enhance your solar energy use.
Regular monitoring and maintenance of your solar panels are essential to ensure they perform efficiently and have a long lifespan. By keeping your panels clean, inspecting them regularly, and addressing any issues promptly, you can maximize your investment in solar energy. Embrace the power of the sun, and enjoy the benefits of a well-maintained solar energy system!
Local Regulations and Incentives
Before installing your solar panels, it’s essential to understand the local regulations and incentives that could impact your project. This knowledge can help you avoid legal pitfalls and take advantage of financial benefits that can significantly reduce your upfront costs and improve your return on investment. Let’s delve deeper into this topic to ensure you’re fully prepared.
Understanding Local Regulations
Different areas have various regulations regarding the installation and operation of solar panels. These rules can influence where you can place your panels, how they must be installed, and what types of systems are allowed. Here’s what you need to know:
Zoning Laws and Building Codes
- Zoning Laws: Zoning laws can affect whether you can install solar panels on your property. Some areas have specific zones where solar installations are allowed or restricted. Check with your local zoning office to understand any zoning requirements that apply to your property.
- Building Codes: Building codes ensure that structures, including solar panel systems, are safe and compliant with local standards. These codes can dictate the materials, mounting systems, and installation practices you must use. Your installer should be familiar with these codes, but it’s good to have a basic understanding yourself.
Homeowners Association (HOA) Rules
If you live in a community governed by a homeowners association (HOA), there may be additional rules regarding solar panel installations. Some HOAs have strict guidelines about the appearance, placement, and size of solar panels to maintain the community’s aesthetic. Review your HOA’s covenants, conditions, and restrictions (CC&Rs) before planning your installation.
Permitting Process
Obtaining the necessary permits is a critical step in the solar panel installation process. This can include:
- Electrical Permits: Required for the electrical work involved in connecting your solar panels to the grid or your home’s electrical system.
- Building Permits: Needed to ensure that the physical installation meets local building codes and standards.
- Environmental Permits: In some areas, environmental impact assessments or permits might be necessary, particularly if your installation could affect local wildlife or natural habitats.
Consult with your solar installer, who can guide you through the permitting process and help ensure all necessary permits are obtained.
Taking Advantage of Incentives
Numerous financial incentives are available to encourage the adoption of solar energy. These incentives can make solar panel installation more affordable and attractive. Here are some common types of incentives:
Federal Incentives
- Investment Tax Credit (ITC): The ITC allows you to deduct a significant percentage of your solar installation costs from your federal taxes. As of now, the ITC provides a 26% tax credit for systems installed through 2022 and a 22% credit for systems installed in 2023. This incentive can result in substantial savings.
- Accelerated Depreciation (MACRS): For businesses, the Modified Accelerated Cost Recovery System (MACRS) allows for faster depreciation of solar energy equipment, which can lead to significant tax benefits.
State and Local Incentives
- State Tax Credits: Many states offer additional tax credits that can be combined with the federal ITC. These credits vary by state, so it’s essential to research the specific incentives available in your area.
- Rebates: State and local governments, as well as utilities, often provide rebates to offset the cost of solar installations. These rebates can reduce your upfront costs significantly.
- Performance-Based Incentives (PBIs): PBIs pay you based on the amount of electricity your system generates. These payments are typically made over a set period and can provide ongoing income from your solar panels.
Net Metering
Net metering policies allow you to sell excess electricity generated by your solar panels back to the grid. This can result in credits on your electricity bill, further improving the financial benefits of your solar installation. Net metering rules vary by state and utility, so it’s crucial to understand how net metering works in your area.
Resources for Finding Incentives
Several resources can help you identify and understand the incentives available for solar installations:
- Database of State Incentives for Renewables & Efficiency (DSIRE): The DSIRE database is a comprehensive source of information on incentives and policies that support renewable energy and energy efficiency in the United States. Visit DSIRE to find details on federal, state, and local incentives.
- Local Utility Companies: Contact your local utility company to learn about any rebates, net metering programs, or other incentives they offer for solar energy systems.
- Solar Installers: Reputable solar installers are often well-versed in the available incentives and can help you navigate the process to maximize your savings.
Real-World Considerations
When planning your solar panel installation, consider the following real-world factors:
- Installation Timing: Some incentives have expiration dates or are subject to funding limits. Plan your installation to take full advantage of available incentives before they expire or funds run out.
- Financial Planning: Work with a financial advisor or your solar installer to understand the long-term financial benefits and costs of your solar system. This includes calculating payback periods, return on investment, and potential savings on energy bills.
- Legal Compliance: Ensure your installation complies with all local regulations and building codes to avoid fines, legal issues, or the need to redo parts of the installation.
Navigating the landscape of local regulations and incentives is a critical part of the solar panel installation process. By understanding the rules that apply to your project and taking advantage of available financial incentives, you can ensure a smooth installation and maximize your investment in solar energy. Do your research, consult with professionals, and make informed decisions to harness the full potential of the sun’s power.
Final Thoughts
As we wrap up our discussion on optimizing solar panel placement, it’s essential to bring together all the tips and insights we’ve covered. Making the most of your solar investment involves careful planning, strategic decisions, and ongoing attention to detail. Here are some final thoughts to ensure you’re getting the maximum efficiency from your solar panels.
Holistic Planning and Integration
When planning your solar panel installation, consider the entire ecosystem of your home or property. Integrating solar panels into your overall energy plan can enhance efficiency and provide greater benefits.
Energy Efficiency First
Before installing solar panels, ensure your home is as energy-efficient as possible. Simple upgrades like better insulation, energy-efficient windows, and LED lighting can reduce your overall energy consumption, making your solar energy go further.
- Energy Audits: Conduct an energy audit to identify areas where you can improve efficiency. Many utility companies offer free or low-cost energy audits.
- Smart Home Integration: Use smart home devices and energy management systems to monitor and control your energy use, optimizing your solar energy consumption.
Battery Storage
Consider adding a battery storage system to your solar setup. Batteries allow you to store excess energy produced during the day for use at night or during cloudy periods. This can increase your energy independence and provide backup power during outages.
- Types of Batteries: Research different types of batteries, such as lithium-ion, lead-acid, or flow batteries, to find the best fit for your needs and budget.
- Financial Incentives: Look for incentives and rebates for battery storage systems, which can offset some of the upfront costs.
Future-Proofing Your System
Technology and energy needs change over time, so it’s wise to plan for future expansions and upgrades.
System Scalability
When designing your solar panel system, consider future energy needs. Install a system that can be easily expanded if your energy consumption increases or if you add new technologies like electric vehicles or additional home automation systems.
- Inverter Capacity: Choose an inverter with extra capacity to handle potential future expansions.
- Modular Design: Opt for a modular system that allows you to add more panels or batteries without significant redesign or additional costs.
Monitoring and Upgrades
Stay informed about advancements in solar technology and be prepared to upgrade components as needed to maintain or improve efficiency.
- Regular Updates: Keep your monitoring systems and software up to date to ensure accurate tracking and optimization of your solar panels’ performance.
- Component Upgrades: As new, more efficient panels, inverters, or batteries become available, consider upgrading to take advantage of technological advancements.
Community and Policy Engagement
Being an active participant in your local community and staying informed about energy policies can enhance the benefits of your solar installation.
Local Solar Programs
Join local solar programs or cooperatives to share knowledge, resources, and experiences with other solar energy users. These groups can offer valuable insights and support.
- Solar Co-ops: Many areas have solar co-ops that negotiate bulk discounts for members, reducing installation costs.
- Community Solar Projects: Participate in or support community solar projects that provide shared access to solar energy, benefiting those who may not be able to install their own systems.
Advocacy and Education
Get involved in advocating for renewable energy policies and educating others about the benefits of solar energy.
- Policy Advocacy: Support policies and legislation that promote renewable energy and provide incentives for solar installations. Your voice can help shape a cleaner energy future.
- Educational Outreach: Share your solar journey with friends, family, and neighbors. Educate them about the benefits and challenges of solar energy, encouraging more people to make the switch.
Real-World Success Stories
Hearing about real-world success stories can be inspiring and provide practical insights. Here are a couple of examples:
-
The Johnson Family: The Johnsons optimized their solar panel placement by conducting a thorough shade analysis and adjusting their panel angles seasonally. They also added a battery storage system, allowing them to store excess energy and reduce their reliance on the grid. Their careful planning and ongoing maintenance resulted in significant energy savings and a quicker return on investment.
-
Sunnyville Community Solar Co-op: Residents of Sunnyville formed a solar co-op to negotiate bulk pricing for solar installations. By working together, they reduced costs and shared best practices for optimizing panel placement. Their collective efforts led to a more sustainable community and inspired neighboring towns to start their own solar initiatives.
Conclusion
Optimizing solar panel placement for maximum efficiency is a multifaceted process that involves careful planning, ongoing maintenance, and staying informed about new technologies and policies. By considering factors like angle, shading, mounting options, and local regulations, you can ensure your solar panels perform at their best. Additionally, integrating energy efficiency measures, considering future expansions, and engaging with your community can further enhance the benefits of your solar investment.
Harness the power of the sun, and enjoy the journey toward a more sustainable and energy-efficient future. Remember, every step you take towards optimizing your solar panels brings you closer to maximizing your savings and reducing your environmental impact. Happy solar paneling!

